Cyclo Polisher Review
Helping you make an informed decision!
For many people, the Cyclo Polisher will represent the winning combination of benefits when shopping for the top pick of automotive polishers. Whether you are a weekend warrior looking to work on your own car, or a professional detailer looking to take it to the next level, finding the best rated car polisher can be a frustrating process.
Generally any car buffer review will be more about selling you something, rather than helping you become an informed consumer first. Many guys think they are making an informed decision only to find out later that it was a decision made with limited information.
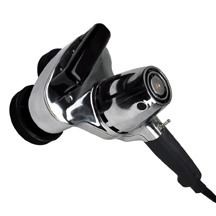
Cyclo Polisher Review
The unique design of the Cyclo Polisher is meant to duplicate the exact process of your hands when applying car polish or wax. Due to the hyped-up fear many associate with car buffers and swirl marks, this Cyclo Polisher for many represent the perfect solution to this common problem.
The problem now is that this polisher is no longer available broadly speaking —meaning it is no longer available on Amazon!
Choosing a Better Alternative
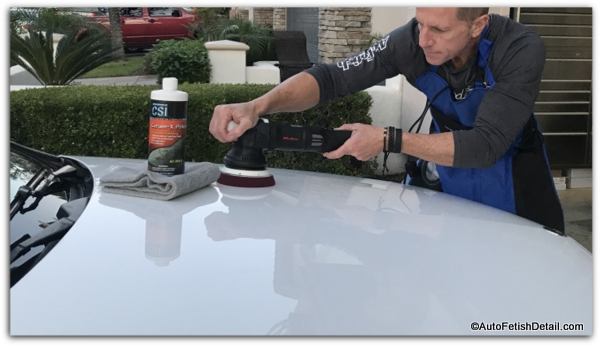
Personally I was surprised the Cyclo polisher ever got hold of anyone due to its size —polishing under the best of circumstances is difficult enough without signing onto a polisher that is both heavier and more cumbersome than virtually every other polisher on the market.
And those are just the two obvious drawbacks.
Cyclo Polisher:
What Would Darren Do (WWDD)
Many people who tune into my content just want to know what I would do if I was them.
People who want to cut to the chase without attempting to learn all the nuances of a particular subject.
So let me show you the car polishing kit I would get so you can get what you really want —super shiny car paint!
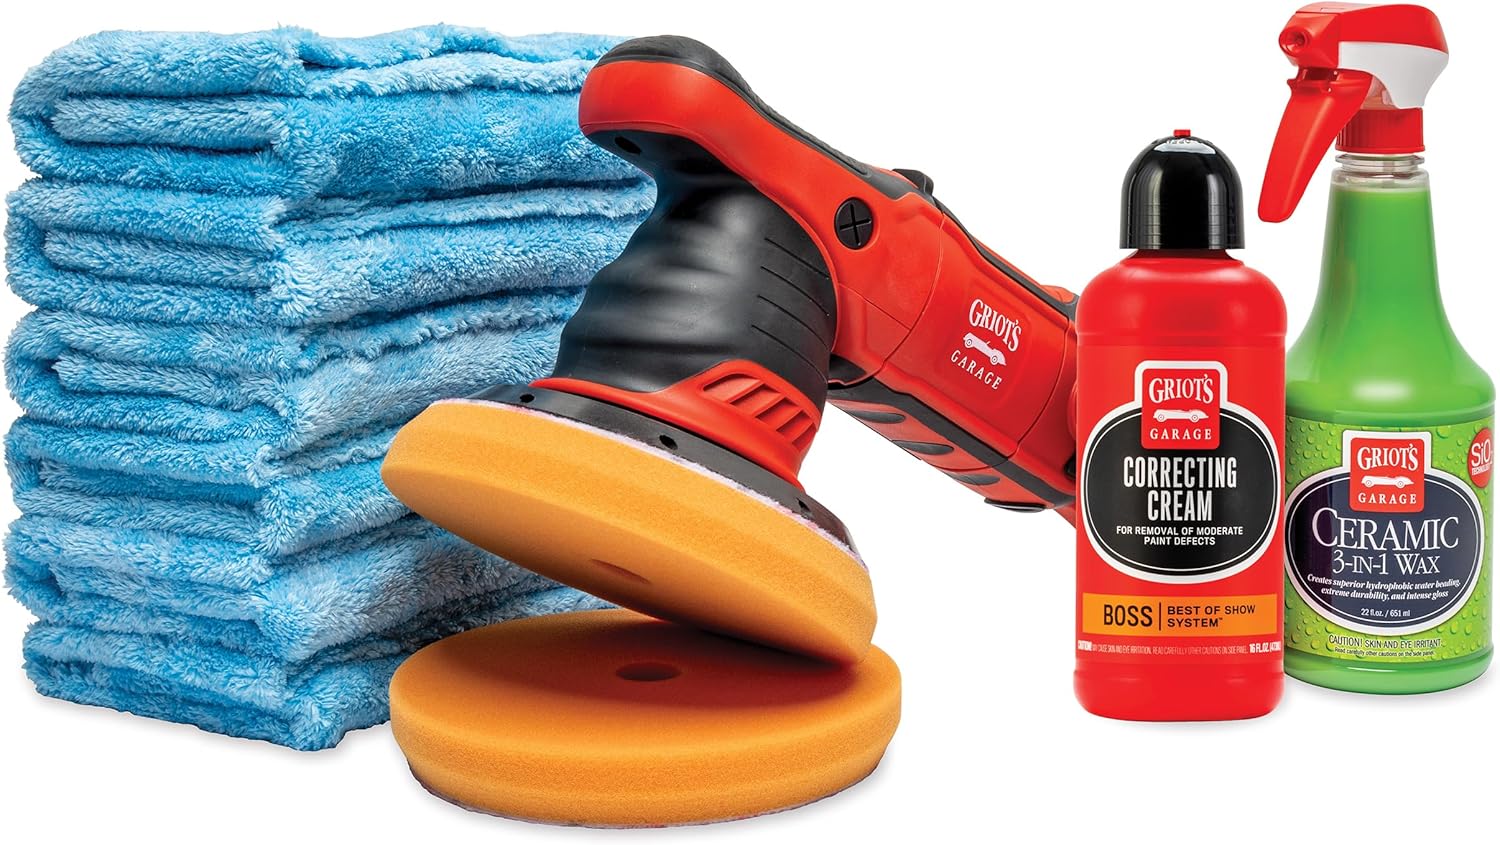
Griot's Garage Ceramic Polishing Kit on Amazon
- The winning balance between performance and cost.
- Beginner to advanced skill set.
- Excellent ergonomics of a polisher.
- One polish to perform the heavy lifting and fine tuning of polishing.
- Polishing pads and microfibers included.
Producing a Show Car Shine on Your Car
Follow these steps for a professional level shine even if you are a complete beginner.
Perform the following steps on a freshly washed car:
Decontamination
Washing removes loose dirt, but bonded contaminants (embedded brake dust and airborne pollution) stay behind. A clay bar shears these off, leaving the paint glass-smooth.
- Work in Small Sections: Focus on a 2x2 foot area at a time.
- Lubrication is Critical: Generously spray a dedicated clay lubricant or a slick detail spray onto the section. Never use a clay bar on dry paint.
- Light Pressure Only: Gently glide the clay bar back and forth over the lubricated area. You will feel and hear it grabbing contaminants initially; it is done when it glides silently and effortlessly.
- Knead the Clay: Frequently check the face of the clay. Once it looks dirty, fold it in half and knead it into a fresh, clean, flat piece.
- Wipe Clean: Wipe the residue off the section with a clean microfiber towel before moving to the next area.
Polishing The Paint
Like claying, work in a manageable 2x2 foot section.
- Prepare Pad and Polish: Apply about 10-15 pea size drops of polish onto your pad face.
- Dab the Product: Before turning the machine on, place the pad directly onto the paint and dab it a few times across your 2x2 section to distribute the polish. This prevents the product from slinging everywhere.
- Set the Speed: Set your DA polisher to a low speed (usually speed 1 or 2) to spread the polish evenly across the section, then turn it up to a working speed (usually speed 4 or 5 for most DA machines).
- The Cross-Hatch Pattern: Move the polisher in a grid. Go horizontally from top to bottom, overlapping each pass by 50%. Then, switch to a vertical pattern from left to right, overlapping by 50%. One horizontal set plus one vertical set equals one pass.
- Arm Movement and Pressure: Move the machine slowly—about 1 to 2 inches per second. Apply only light, even downward pressure (just enough to guide the machine and keep the pad flat against the paint). Ensure the pad is actively rotating; if it stops spinning, you are pressing too hard or holding it at an angle.
- Cycle the Polish: Complete 4 to 5 passes over the section. The polish will transition from an opaque paste to a thin, translucent film.
Wipe and Inspect
- Wipe Residue: Immediately use a clean, high-quality microfiber towel to wipe away the remaining polish residue. Do not let it dry on the paint.
- Inspect Your Work: Use a bright flashlight or direct sunlight to examine the section. You should see a noticeable increase in gloss and a dramatic reduction in fine swirls.
- Repeat: Move to the next 2x2 section, overlapping slightly with the previous one, and repeat the process until the entire vehicle is completed.
Once you are complete, use the ceramic 3-in-1 spray wax to seal the paint.
Then stand back and admire your work!
I wish you much success with your detailing efforts!
Sincerely,
Darren Priest
- Home
- Auto Polisher
- This Page
|
|

Thank you for your support of my website. I spend massive amounts of time bringing you my best car care tips that I bring from my 30+ years of experience as a professional detailer.
Sincerely,

Any time you use one of the Amazon links on this website and make a purchase, I earn a small commission (very small). This does not change the price you pay at Amazon, it simply means I earn a commission.
I hope you come back whenever you have any additional questions!