How to Polish Car:
Learn how to polish like a pro!
Any internet search on how to polish a car delivers a mind-numbing volume of results. Most originate either from companies built and run by individuals who have never polished cars for a living, or from "YouTube detailers" with zero real-world experience.
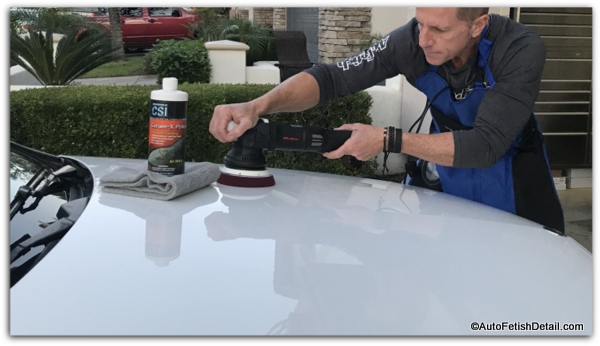
In today’s landscape of social media and rapid content creation, verifying someone's actual professional background is nearly impossible. This leaves you buried under endless opinions from sources fundamentally unqualified to teach anyone how to polish automotive paint.
Polishing a car involves far more than simply buying the best buffer or polish and going to town. While the process can be streamlined, achieving a head-turning, neighborhood-envy finish requires mastering multiple moving parts:
- Choosing the right car buffer
- Selecting the ideal machine type for a beginner
- Deciding whether to polish by hand or by machine
- Finding the highest-performing polish
Every one of these questions matters. However, within that list lies what I consider the most critical element of the entire equation: selecting the right car polish.
When you are preparing to polish your car for the first time, getting two foundational factors right makes all the difference:
- Start with a random orbital buffer —the safest and easiest buffer to use whether you are a seasoned pro or absolute beginner.
- Start with a car polish that can do both the heavy lifting and fine tuning —no need to make your life more complicated with using multiple compounds and polishes.
Since I cover random orbital buffers extensively on dedicated pages elsewhere on the site, I will keep the focus here strictly on the car polish itself.
How to Polish Car:
Your Super Simple Approach to Professional Results
The auto detailing industry and its manufacturing sector thrive on engineered complexity, constantly pushing an endless stream of products to boost sales.
Add to this the hyped-up world of YouTube detailing that leverages that exact same artificial complexity—feeding directly on hype and consumer ignorance to keep you buying more and more "stuff" you don't actually need just to get shiny paint.
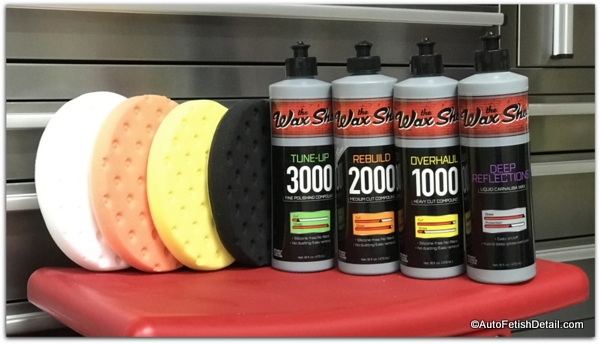 This is just one example of what this industry wants you to believe you need to polish your car. All these products and polishing pads might look really cool sitting on your garage shelf, but do you really want to buy four different pads and four different types of car polish?
The reality, however, is that proper car polishing is far simpler, more streamlined, and much more straightforward than you have ever been led to believe and I am going to show you how.
The Only Car Polishing Kit You Will Need

Griot's Garage Car Polishing Kit on Amazon
- Everything you need for shiny paint in a single kit!
- Professional grade that won't break the bank.
- One polish that will do the heavy lifting as well as the fine tuning.
I love kits —save time an money when shopping detailing kits.
The only other thing I recommend is to prepare your paint first by using a clay bar kit to decontaminate your car paint first —this part is very crucial for the best results when polishing your paint.
Removing the bonded paint contaminants first will give you two very specific and important benefits:
- Make you experience polishing the paint much easier and smoother —you will not be working against the gritty specs of "dirt" stuck to your paint.
- Your end results will be truly professional grade results.
How to Polish Car as a Beginner
STEP 1 — Wash Your Car Thoroughly
What you're trying to accomplish
You want to get as much loose dirt, dust, road grime, etc. off the car before you ever touch the paint with a clay bar or polisher.
You don't want to drag loose grit across the paint.
Do this:
- Park the car in the shade.
- Rinse the entire car -use more water at first if the car paint is hot to the touch.
- Wash using a good automotive shampoo and a clean wash mitt.
- Start at the roof and work downward.
- Rinse frequently.
- Clean the wheels/tires/wheel wells separately.
- Rinse the entire car thoroughly.
Then dry the car with clean microfiber drying towels.
Important
Don't wash the car in direct hot sunlight if you have the option.
If the car paint remains hot moving forward, you will have to adjust all your steps moving forward to account for the hot paint —this means all tasks moving forward will be more difficult for you.
STEP 2 — Clay The Paint
I would absolutely clay before polishing.
Griot's own instructions say the paint needs to be free of bonded surface contaminants before polishing or waxing. They recommend clay when the paint feels rough rather than smooth. How to determine whether you need clay
After washing and drying, run your clean fingertips lightly across the paint.
Better yet, put your hand inside a thin plastic sandwich bag and gently rub your fingertips across the paint.
The paint should feel silky smooth....which it won't, so you absolutely, positively should clay first —you will thank me later!
What You Need:
- Clay bar
- Clay lubricant/detail spray
- Microfiber towel
Work on approximately 2' × 2' sections.
- Flatten the clay bar with your hands to create a mostly flat working clay bar.
- Spray the lubricant generously over the section.
- Rub clay bar back and forth across each section of paint until there is no resistance and you no longer hear and friction nose —use just enough pressure to maintain control of the clay bar.
- Use minimal pressure, not heavy pressure.
- Keep each section lubricated as you are working.
- Wipe each area once the section is completed —wipe up the slurry you will create as you work form section to section.
The clay isn't polishing the paint.
It's removing stuff that is sitting on or bonded to the surface.
You're basically making the paint smooth enough that the polishing pad can make consistent contact with the actual paint.
STEP 3 — Do a Test Spot
Every car is different and not all car paint is the same. Performing a small test spot will give you the initial feed back that will prove helpful as you polish your car.
You will be determining a few important things with this test spot:
- How much polish to use once you have seasoned the pad during the first few passes of the buffer.
- How much pressure you should use.
- The length of polishing time each section will likely require to achieve desired results.
Work approximately 2' × 2' sections.
Apply a few small drops/lines of Correcting Cream to your pad.
Place the pad against the paint before turning the machine on.
Start the machine at a low speed to spread the product.
Then increase to level 4 on the buffer —I consider this the winning speed for any beginner" enough speed to produce results, but not so much as to scare you.
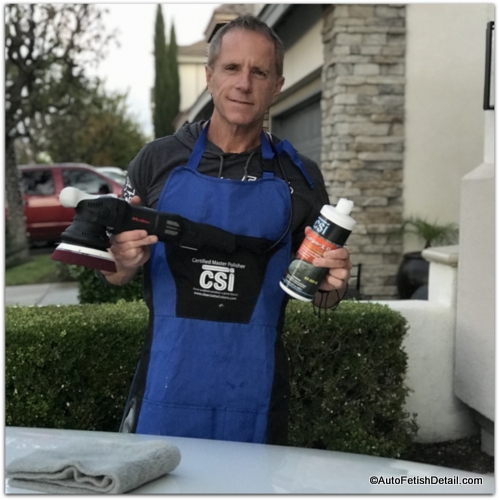
You don't want to:
❌ Move extremely fast
❌ Push extremely hard
❌ Hold the machine stationary for too long
❌ Try to polish a huge section at once
Instead: Slow, controlled movement.
Move the G9:
left → right
then
up → down
creating a cross-hatch pattern.
I recommend slow arm movement, light pressure and approximately 3–4 passes for each working area.
STEP 4 — Wipe The Residue Off
Now that you have done your test area:
- Turn the machine off.
- Set it down safely.
- Take a clean microfiber towel.
- Gently wipe the residue away.
- Inspect the paint.
Now look at your test section — use an inspection light if you have one.
Ask: Did the swirls improve?
Did the gloss improve?
Did the scratches become less noticeable?
Did I introduce any haze?
If you're happy with the result, that's your process. If not, preform same steps again for a second time and then inspect.
STEP 5 — Now Polish The Rest of The Car
Once you've established your successful test-spot procedure, repeat it over the vehicle.
I'd divide the car into sections like this:
- Hood
- Front fenders
- Front bumper
- Roof —including downward side panels
- Trunk
- Rear quarter panels
- Rear bumper
- Front doors
- Rear doors
Again: Approximately 2' × 2' working sections.
This will keep the process manageable and allows you to concentrate on the area you're polishing.
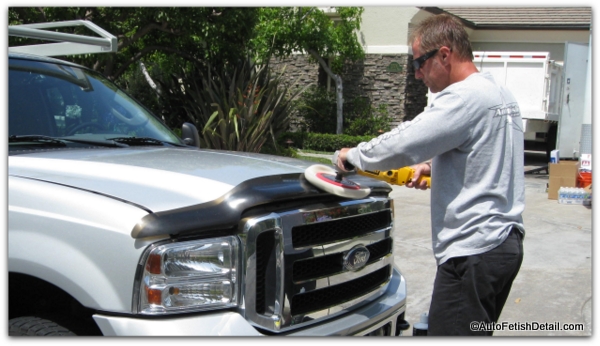
STEP 6 — Clean Your Pad as You Go
Your foam pad will gradually become loaded with:
- Used polishing compound
- Removed paint
- Dust
- Contamination
You don't want to continue using a completely loaded pad. Use a dedicated foam pad cleaning brush or simply use an old stiff tooth brush you no longer use.
Turn buffer on and firmly press tooth brush/pad brush into pad face as the buffer operates to release used product and clean your pad.
I perform this cleaning every 3-4 times I apply new polish to my pad.
How to Polish Car Summary
I will add this tip in closing: You are chasing improvement, not perfection.
You can drive yourself crazy chasing perfection —you can also cause more harm than good if you polish your paint chasing perfection rather than "good enough".
I highly recommend that if you find yourself questioning your results to do this: Stand back and look at your car from what I call normal viewing distance.
If you like what you see —then this becomes your standard.
Once you have produced desired results, use the Ceramic Spray Sealant to seal in your work and add an additional layer of gloss.
And don't forget to feel your paint —that silky smooth feel is almost as rewarding as the shine you will have created.
I hope I have helped and I wish you much success as you add that loving feeling back into your car by polishing the paint.
Sincerely,
Darren Priest
- Home
- How to Detail a Car
- This Page
|
|

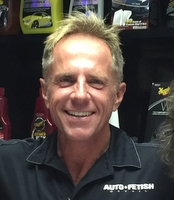
Thank you for your support of my website. I spend massive amounts of time bringing you my best car care tips that I bring from my 30+ years of experience as a professional detailer.
Sincerely,

Any time you use one of the Amazon links on this website and make a purchase, I earn a small commission (very small). This does not change the price you pay at Amazon, it simply means I earn a commission.
I hope you come back whenever you have any additional questions!